Configure Your Importer
You need to configure your first Importer before integrating UseCSV with your app.
Sign up for UseCSV
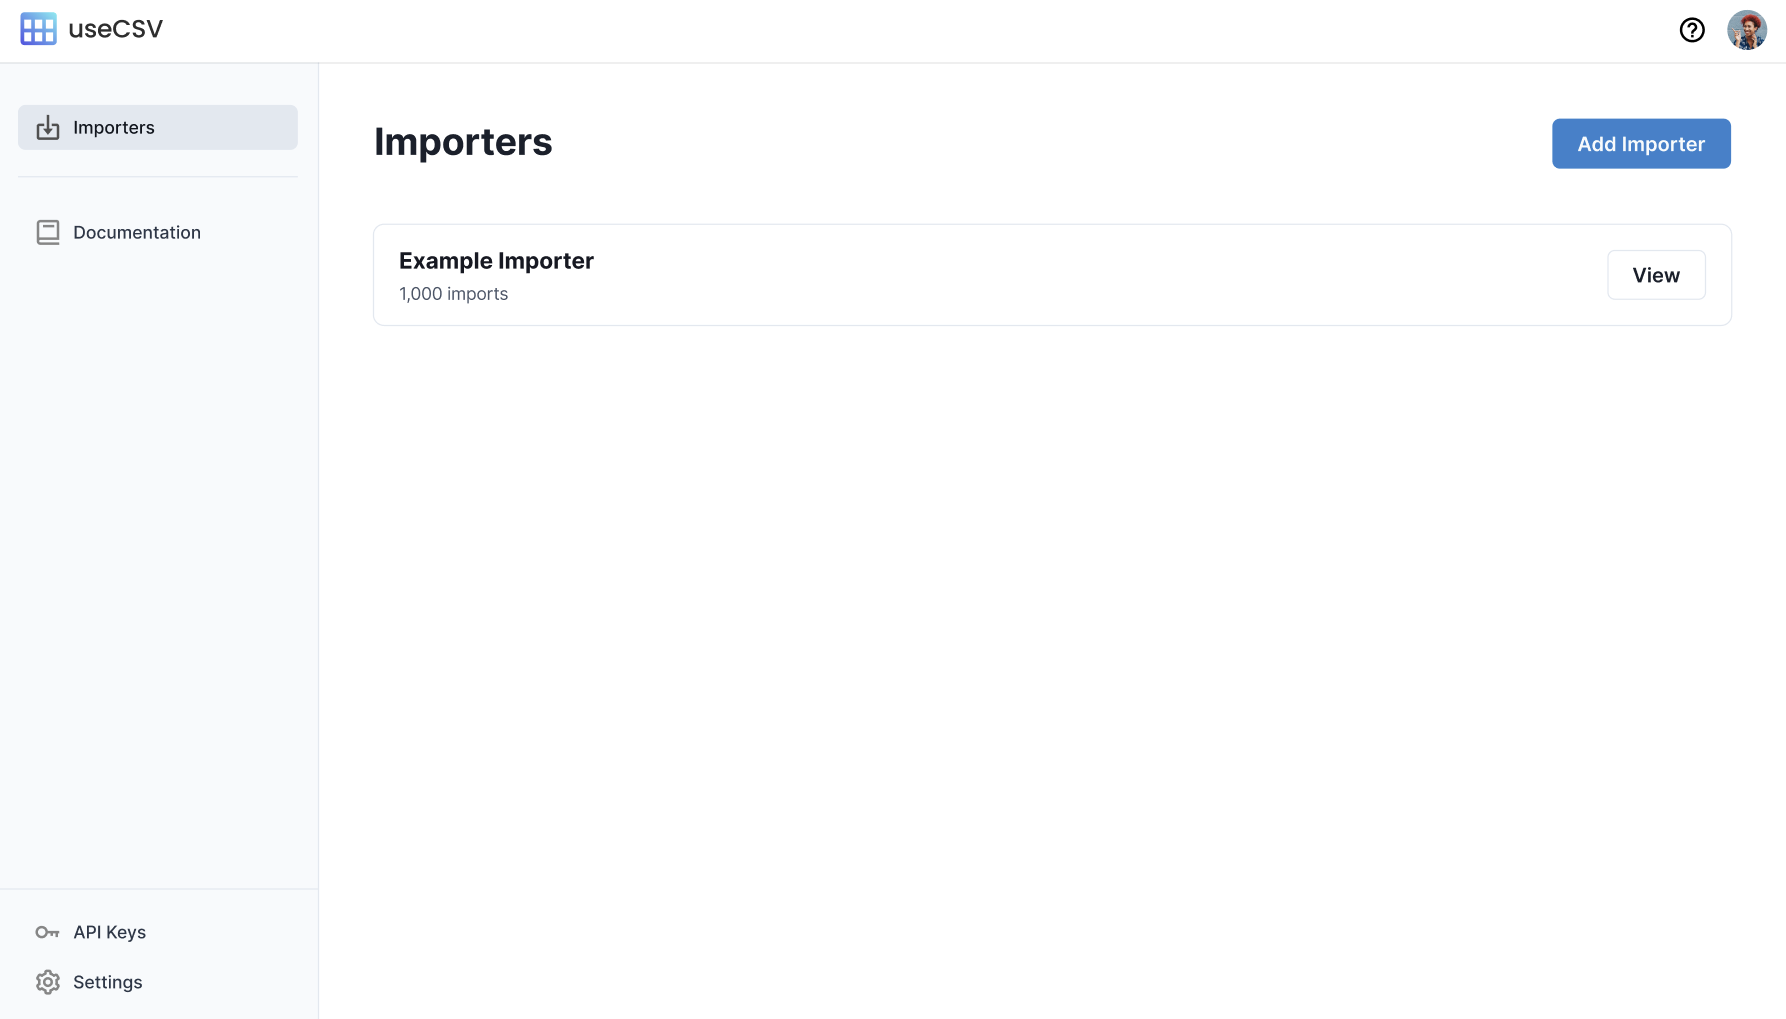
Visit app.usecsv.com and create your UseCSV account. In your dashboard you'll find an example Importer that you can edit. Alternatively you can create a new Importer using the Add Importer button.
Now click View to be directed to the Importer details page.
Configure your Importer settings
In the Importer details page you'll find everying you need to integrate the Importer into your app. You can also configure the Importer columns and view history of data imports and webhooks.
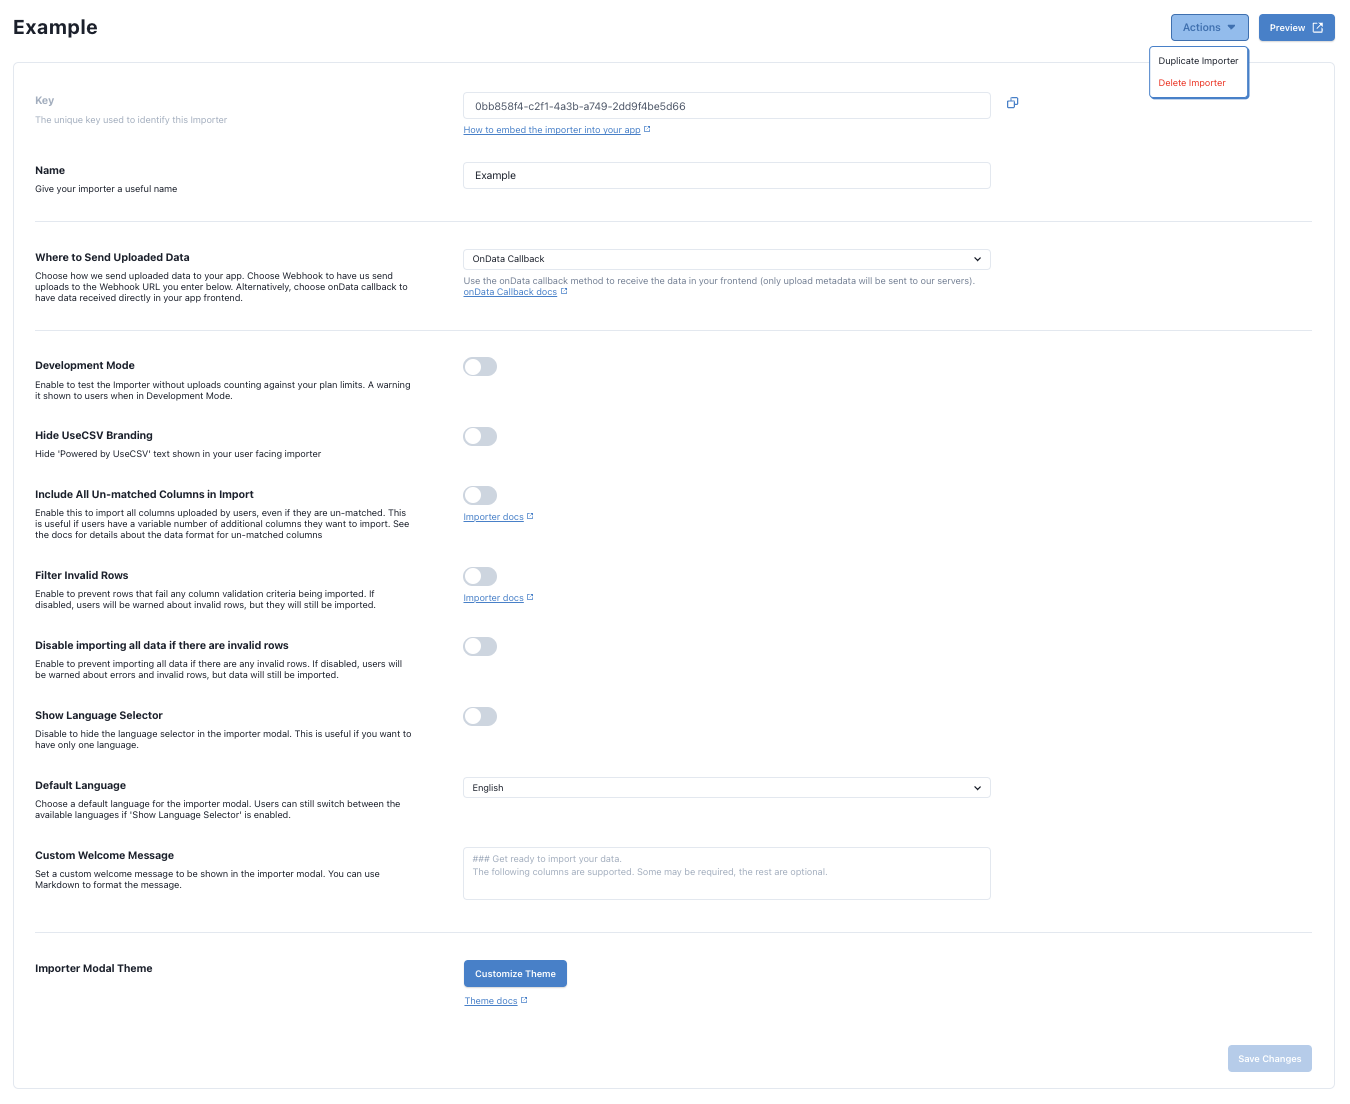
Take note of the Importer Key as you will need it when you integrate this Importer into your app.
Name
Give your importer a useful name.
Where to send uploaded data
Choose how we send uploaded data to your app. Options are Webhook and OnData Callback:
1. Webhook
Uploaded data will be sent to our servers, and we will send you a webhook with the data. See the Webhook docs for more info.
2. OnData Callback
Use the onData callback method to receive the data in your frontend (only upload metadata will be sent to our servers). See the onData Callback docs for more info.
Webhook URL
URL where imported data is sent to. Enabled only if Webhook option is selected to send uploaded data.
Development Mode
Enable to test the Importer without uploads counting against your plan limits. A warning is shown to users when in Development Mode.
Include all un-matched columns in import
Enable this to import all columns uploaded by users, even if they are un-matched. This is useful if users have a variable number of additional columns they want to import.
Filter invalid rows
Enable to prevent rows that fail any column validation criteria being imported. If disabled, users will be warned about invalid rows, but they will still be imported.
Show language selector
Disable to hide the language selector in the importer modal. This is useful if you want to have only one language.
Default Language
Choose a default language for the importer modal when first loaded and users can still switch between the available languages.
- English (EN)
- Spanish (ES)
- French (FR)
- Portuguese (PT)
- German (DE)
- Dutch (NL)
- Italian (IT)
- Arabic (AR)
- Norwegian Bokmål (NB)
- Swedish (SV)
- Danish (DA)
- Finnish (FI)
Importer Modal Theme
Theme your Importer with custom colors and styles. See the theme docs for more info.
Configure your import columns
For each Importer, you can configure the import columns and validation formats. When your users import data, they match their uploaded file columns with the schema you've specified. Order your configured columns by dragging and dropping in table.
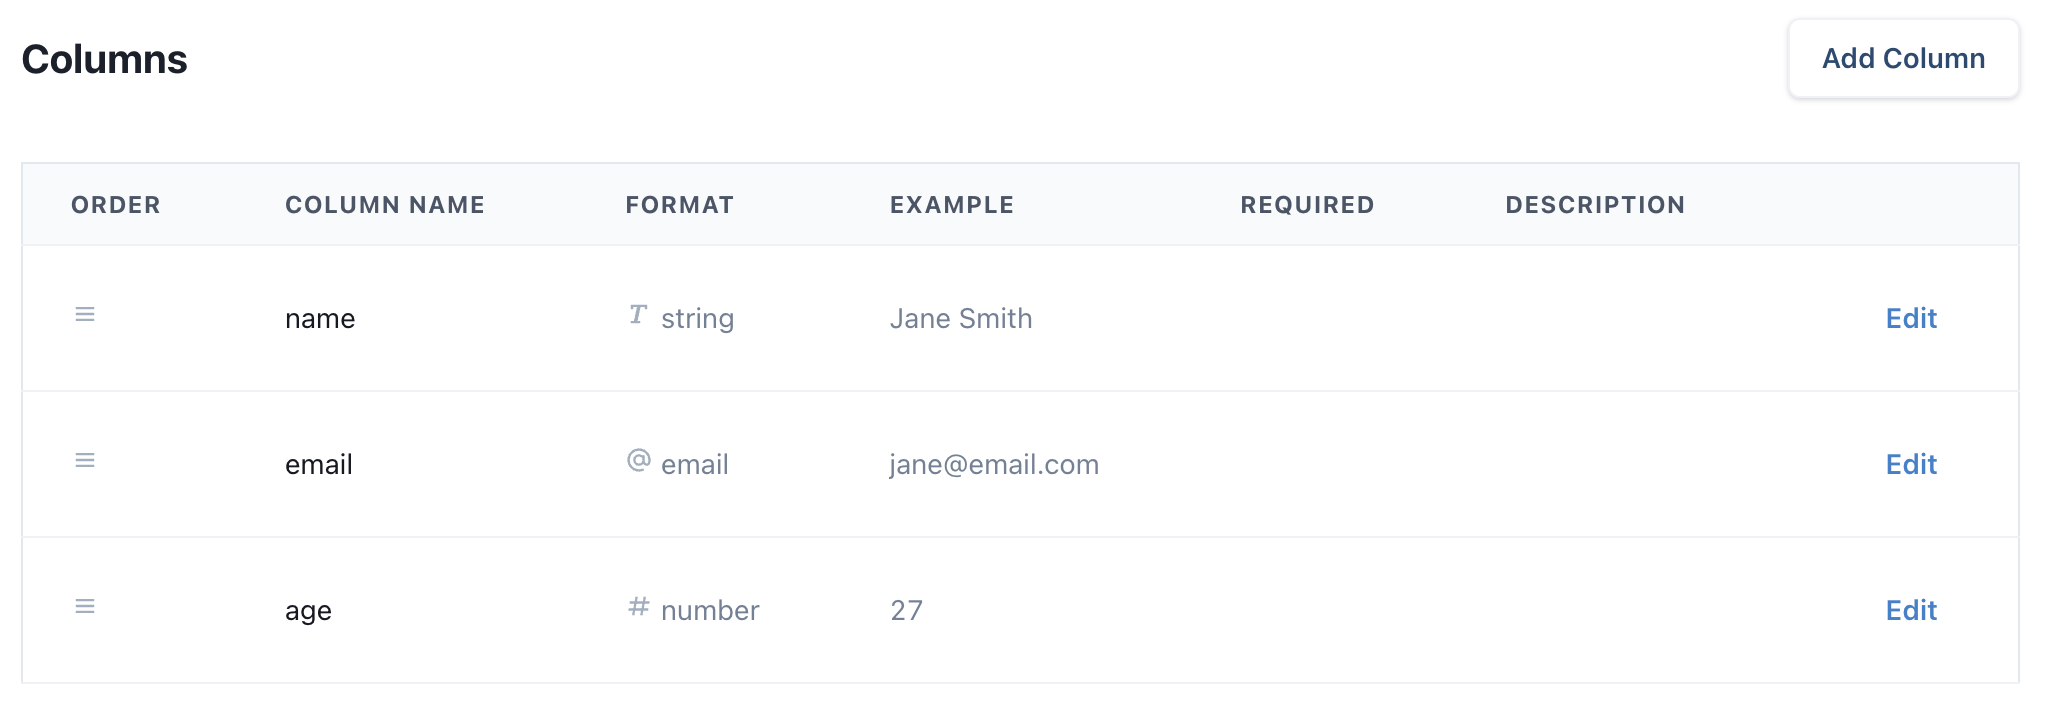
Add a column
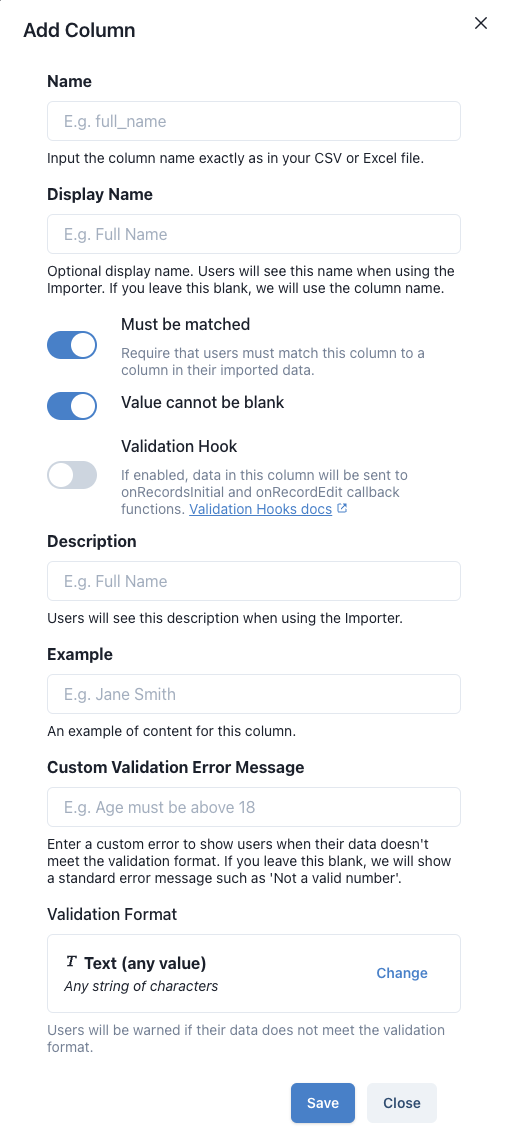
Add the import columns you want your users to import and set the validation format for each column.
We provide a handy library of common validation formats for you to choose from. If there's a validation format you need that's not there, please send us a message using the chat icon below and we'll add it swiftly.
When importing data, your users will be shown records that don't match the validation formats specified. They have the option to edit the data in-place, or edit the original source and re-upload the file. If you want any values to be accepted, choose the Text (any value) validation format.
If a column is set to Must be matched, the user is required to match this column. Columns that aren't required are optional for users to match and import.

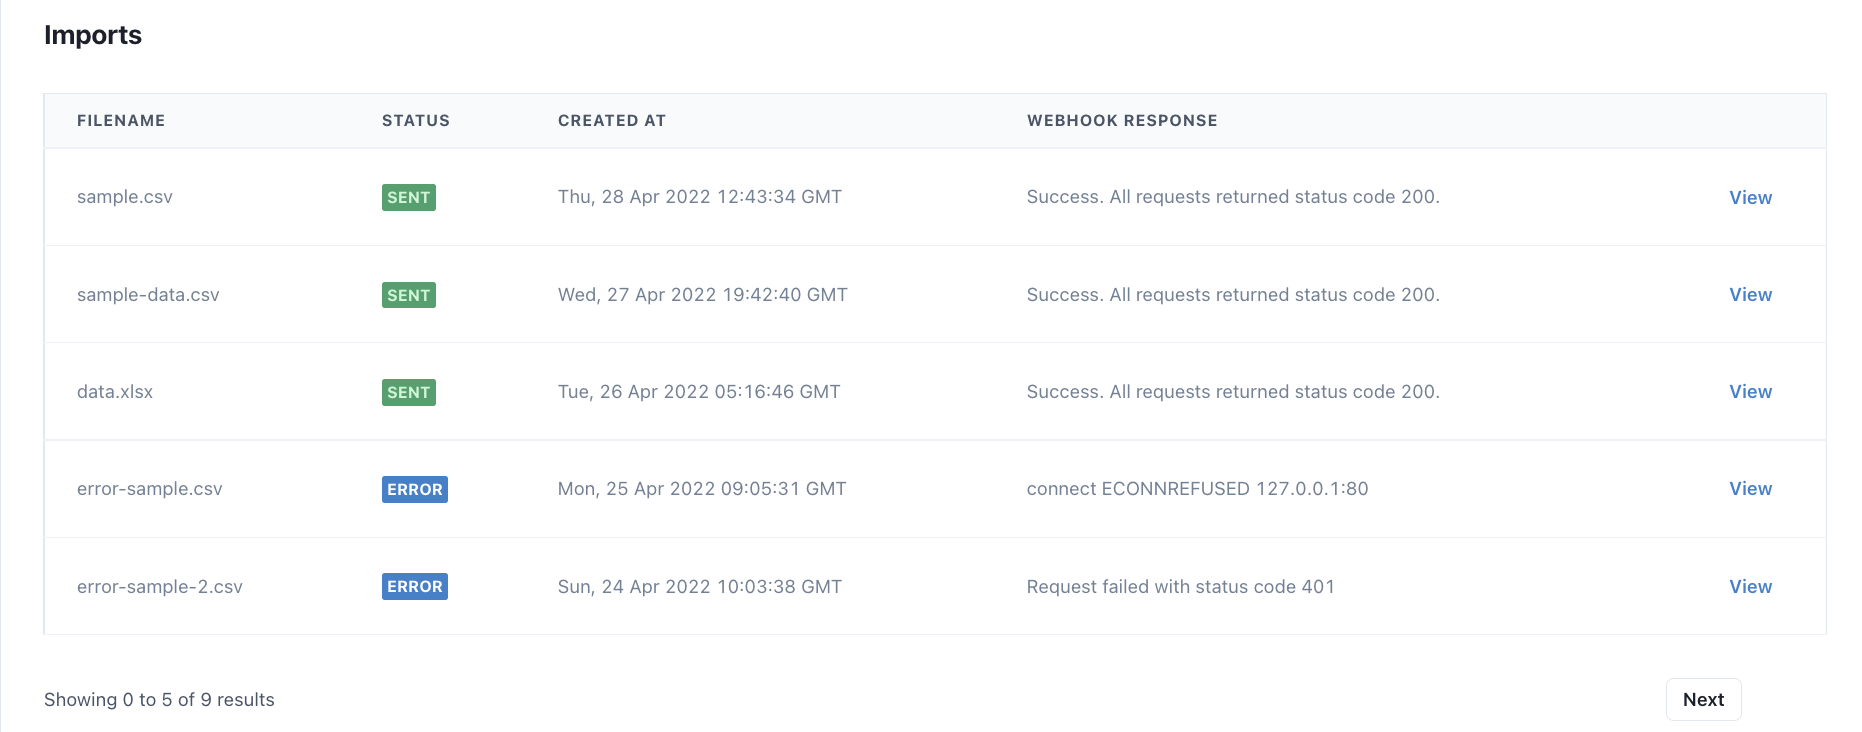
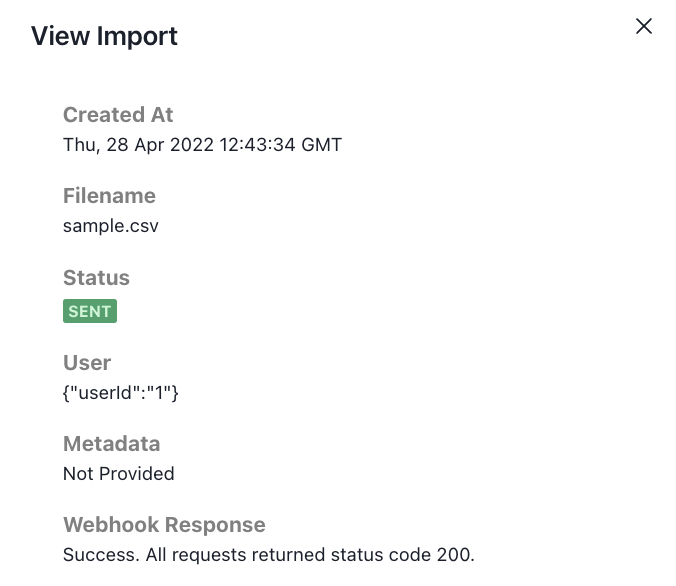
View history of data imports
View history of data imports details and webhook responses in Imports table.
Once you're done adding data columns, it's time to add UseCSV to your app.